How to replace air suspension bags/leaks Tesla
Tesla's air suspension system delivers an exceptionally smooth ride, automatically adjusting height for optimal aerodynamics, comfort, and handling. Found primarily in Model S and Model X, with some variations in newer models, it relies on air springs (often called air bags) that inflate and deflate using compressed air from a central compressor. Over time, these air bags can develop leaks due to wear, environmental factors, or material fatigue, leading to sagging corners, frequent compressor activation, or warning messages on the dashboard.
Addressing leaks early prevents further damage, such as compressor burnout from overworking to maintain pressure. While professional service is always an option, many owners tackle replacements themselves with the right preparation. This guide walks through identification, diagnosis, and step-by-step replacement of faulty air suspension bags, focusing on practical insights for a successful repair.
Understanding Tesla Air Suspension Components
The system includes several key parts that work together seamlessly:
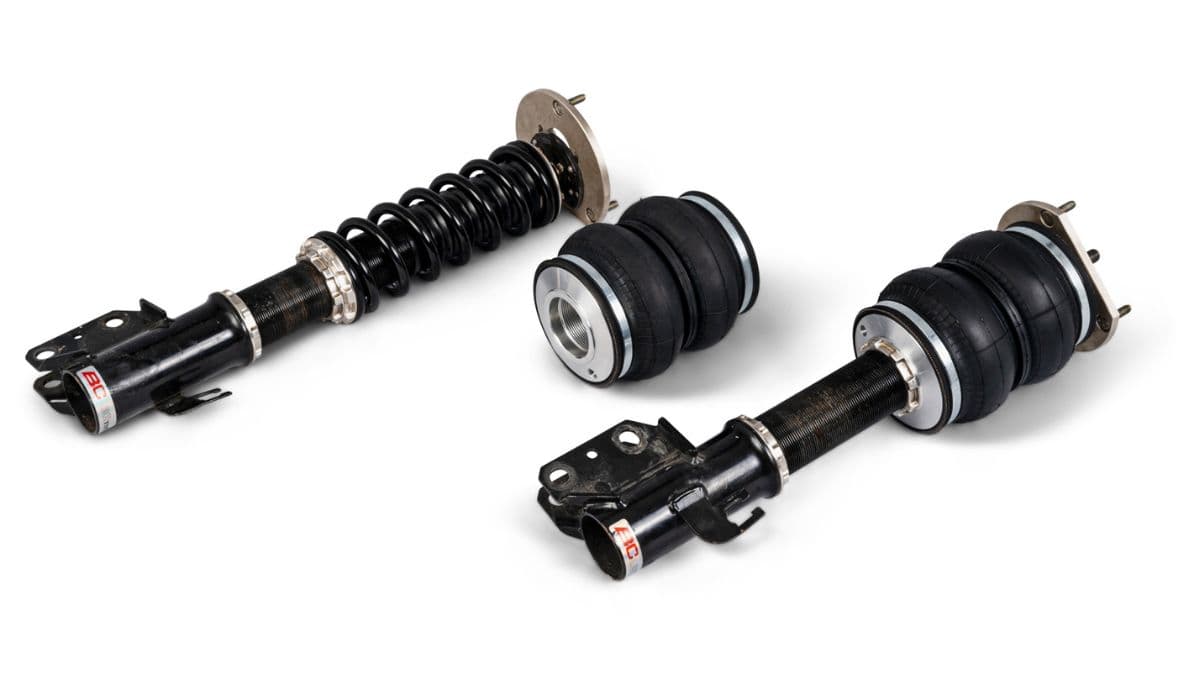
Air springs (bags/struts) — Inflatable rubber bladders integrated into the shock assemblies at each corner.
Compressor — Located in the frunk area, it generates and supplies pressurized air.
Valve block — Distributes air to individual struts and manages height adjustments.
Air lines — Connect everything, routing air from the compressor to the reservoir and struts.
Height sensors — Monitor ride height and signal adjustments.
Reservoir tank — Stores compressed air for quicker responses.
Leaks most commonly occur in the air bags themselves, especially at crimped edges or folds exposed to road debris and weather. Lines and fittings can also fail, but bag leaks often cause noticeable sagging overnight or uneven stance.
Common Signs of Air Suspension Leaks
Spotting issues early makes repair easier and less disruptive. Watch for these indicators:
Vehicle sagging at one or more corners after parking, especially overnight.
Frequent compressor running (audible humming from the front) even when stationary.
Hissing sounds near wheels or frunk after shutting off the car.
Dashboard warnings like "Air Suspension Fault" or height adjustment errors.
Uneven ride height, with the car appearing lower on one side.
Compressor cycling excessively, sometimes followed by a purge sound.
If the car drops significantly, avoid driving to prevent damage to other components like tires or bodywork.
Diagnosing the Leak
Accurate diagnosis pinpoints whether the air bag needs replacement or if a simpler fix suffices. Start with these methods:
Park on a level surface and note ride height.
Enable Jack Mode via the touchscreen (Controls > Service > Jack Mode) to prevent automatic adjustments.
Listen for hissing around each strut after parking.
Mix dish soap with water in a spray bottle.
Apply to air lines, fittings, valve block, and strut bases.
Look for bubbles forming, indicating the leak source.
For struts, focus on the lower folded areas where corrosion or cracks often develop. Check frunk components like the compressor outlet hose, as small splits there cause major symptoms. If no bubbles appear but sagging persists, the leak might be internal to the bag, requiring replacement.
Tools and Preparation for Replacement
Gather these essentials before starting:
Jack and jack stands (or lift for better access).
Wheel chocks and torque wrench.
Socket set (including 13mm, 15mm, 18mm, 21mm).
Extensions and crowfoot wrenches for tight spots.
Flathead screwdriver for collet removal on air lines.
Soapy water for testing.
Gloves and eye protection.
Park on flat ground, chock wheels, and engage Jack Mode. Replacement typically takes a few hours per strut, starting with rear ones for easier access.
Step-by-Step Replacement of Rear Air Suspension Bags
Rear struts are straightforward on most models.
Raise the vehicle and remove the wheel for access.
Support the knuckle or lower control arm with a jack stand.
Disconnect the air line at the top (release collet carefully).
Remove upper mounting nuts (usually three) from the shock tower.
Unbolt the lower attachment (large bolt, often stubborn—apply penetrant).
Maneuver the old strut out.
Transfer any adapter plates if reusable.
Install the new strut in reverse order.
Reconnect the air line securely (new fittings recommended).
Torque all bolts properly.
Reinstall wheel and lower the vehicle.
Test for leaks with soapy water before full reassembly.
Replacing Front Air Suspension Bags
Front replacement involves more steps due to tighter spacing.
Remove the frunk liner or underhood components if needed.
Access the wheel well and remove the liner partially.
Depressurize if possible, or work carefully.
Disconnect harnesses and air line.
Remove upper nuts and lower bolt (support suspension).
Carefully extract the strut, avoiding halfshaft damage on dual-motor models.
Install new unit, ensuring proper alignment.
Reconnect everything and torque to spec.
Front struts are heavier, so use support wisely.
Post-Replacement Checks and Testing
After installation:
Exit Jack Mode and allow the system to level.
Drive gently and monitor height adjustments.
Spray connections with soapy water again to confirm no leaks.
Listen for unusual compressor activity.
Check dashboard for cleared errors.
The system might need time to calibrate. If issues persist, inspect other corners or lines.
Tips for Long-Term Air Suspension Maintenance
Prevent future problems with these habits:
Avoid extreme height settings frequently.
Clean underbody regularly to remove debris.
Park in covered areas to minimize exposure.
Monitor compressor runtime via the app or sounds.
Address small leaks promptly to protect the compressor.
With careful handling, Tesla's air suspension provides years of reliable performance, enhancing the driving experience uniquely.
More from Tesla

How to fix HVAC blend door actuator clicking noise Tesla
16.12.2025 13:16
How to fix FSD visualization lag after Tesla 2025.14 update
16.12.2025 07:02
How to fix phantom drain overnight Tesla
16.12.2025 04:50
How to replace octopus coolant leak (Tesla Model 3 2017–2020)
16.12.2025 03:21
How to replace torn rear seat bolsters Tesla
16.12.2025 03:09