How to replace charge port door that won’t open Tesla
Tesla vehicles feature a sleek, motorized charge port door that enhances the aerodynamic design and provides seamless access to the charging inlet. However, over time, this door can become unresponsive—failing to open via the touchscreen, app, charger button, or manual press. Common culprits include a dislodged internal magnet, motor failure, sensor misalignment, or debris buildup. While temporary fixes exist, replacing the charge port door assembly often provides the most reliable long-term solution, restoring full functionality.
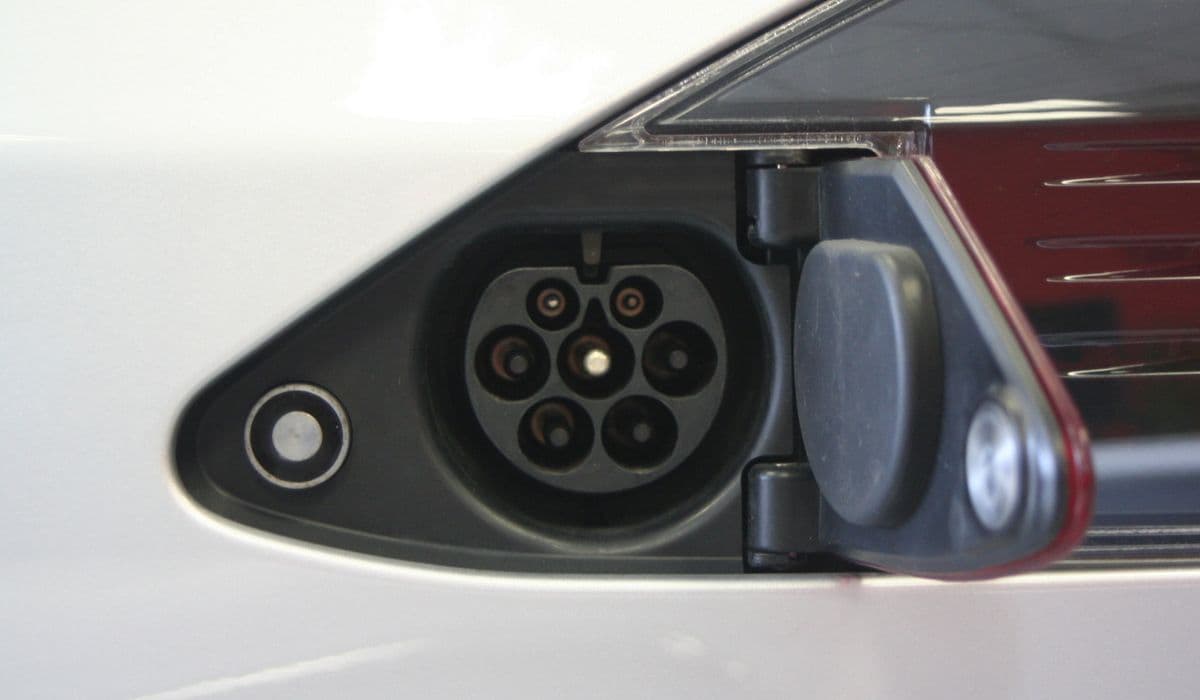
Understanding the Charge Port Door Mechanism
The charge port door on Tesla models like the Model 3 and Model Y operates through a combination of electronic and mechanical components. A small actuator motor controls the opening and closing, triggered by signals from the vehicle's system. Inside the door, a magnet or metal plate interacts with a sensor to detect pressure for the "push-to-open" feature.
When the door refuses to budge, you might hear clicking sounds as the motor attempts to engage, but nothing happens. This can stem from:
The magnet falling out, breaking the push-to-open circuit.
Wear on the actuator gears or motor.
Environmental factors like dirt, moisture, or extreme temperatures affecting seals and movement.
Software glitches occasionally mimicking hardware issues.
Diagnosing early prevents stranding without charging access, especially on long trips.
Quick Troubleshooting Steps Before Replacement
Before diving into replacement, try these non-invasive methods to potentially resolve the issue without tools:
Ensure the vehicle is unlocked—locked doors prevent the port from opening.
Use alternative opening methods: touchscreen (Controls > Charging > Open Charge Port), mobile app, or the button on a connected Tesla charger handle.
Perform a soft reset: Scroll wheels on the steering wheel or power off via the touchscreen menu.
Manually assist: Gently press the right side of the door while commanding it to open, helping the mechanism catch.
Check for obstructions: Clean around the edges with a soft cloth to remove dirt or ice.
If these fail consistently, hardware intervention is likely needed.
Manual Override to Access the Charge Port
In emergencies, when the door is completely stuck and you need to charge immediately, use the manual override:
Open the trunk.
Locate the manual release lever or cable on the left side (driver's side in left-hand drive vehicles), often behind a small panel or in the trunk wall.
Pull the lever firmly toward the front of the vehicle until resistance stops—this unlocks the internal latch.
Gently pry or push the charge port door open from the exterior.
This method allows charging but doesn't fix the motorized function. Avoid forcing it excessively to prevent damage to the hinge or paint.
Preparing for Charge Port Door Replacement
Replacing the charge port door is a moderately advanced DIY task, accessible from the rear taillight area on most models. It's often quicker than expected, with experienced owners completing it in under an hour.
Necessary preparations include:
Obtaining a compatible replacement charge port door assembly (ensure it matches your model's region and configuration).
Gathering tools: Trim removal tools, Torx drivers (T20/T30), flathead screwdriver, needle-nose pliers, and masking tape for paint protection.
Parking in a well-lit, level area with the vehicle powered off.
Disconnecting low-voltage power if accessing deeper components for safety.
Protect surrounding paint with masking tape around the charge port and taillight.
Step-by-Step Removal of the Faulty Door
Begin by gaining access to the assembly:
Open the charge port door manually if possible, or use the override.
Remove the left rear taillight assembly: Release clips and disconnect wiring harnesses carefully.
Apply protective tape around the port area.
Pry off the hinge cover using a small flathead screwdriver—note that this cover often breaks and comes with the new part.
Disconnect any visible electrical connectors to the door actuator.
Unscrew the bolts or fasteners securing the door hinge to the body (typically two screws).
Gently maneuver the door assembly outward, rotating or sliding it to clear the quarter panel. Watch for harness grommets and avoid pulling wires forcefully.
Installing the New Charge Port Door
With the old assembly removed, installation reverses the process with attention to alignment:
Position the new door onto the hinge, ensuring the actuator clears the body panels.
Secure with the original or new screws, torquing gently to avoid stripping.
Reconnect electrical harnesses, seating grommets properly for weather sealing.
Snap on the new hinge cover, aligning detents precisely.
Reinstall the taillight assembly and remove protective tape.
Test the door multiple times using various methods before finalizing.
Post-Installation Calibration and Testing
After replacement, the system may need recalibration for smooth operation:
Reconnect power and wake the vehicle.
Open and close the door repeatedly via touchscreen and manual press.
If available, run any charge port diagnostics through the service menu.
Verify flush alignment with the body—minor adjustments can be made via hinge compensators.
The new assembly often features improved components, like reinforced gears, for enhanced durability.
Maintenance Tips to Prevent Future Issues
Keeping the charge port door in top condition extends its lifespan:
Regularly clean the area with mild soap and water, avoiding high-pressure washes directly on the seal.
Apply silicone-based lubricant sparingly to hinges if sticking occurs.
Avoid slamming or forcing the door.
Monitor for early signs like intermittent operation and address promptly.
With proper care, the replacement should provide years of trouble-free use, maintaining the convenience of Tesla's innovative charging system.
More from Tesla

How to fix FSD visualization lag after Tesla 2025.14 update
16.12.2025 07:02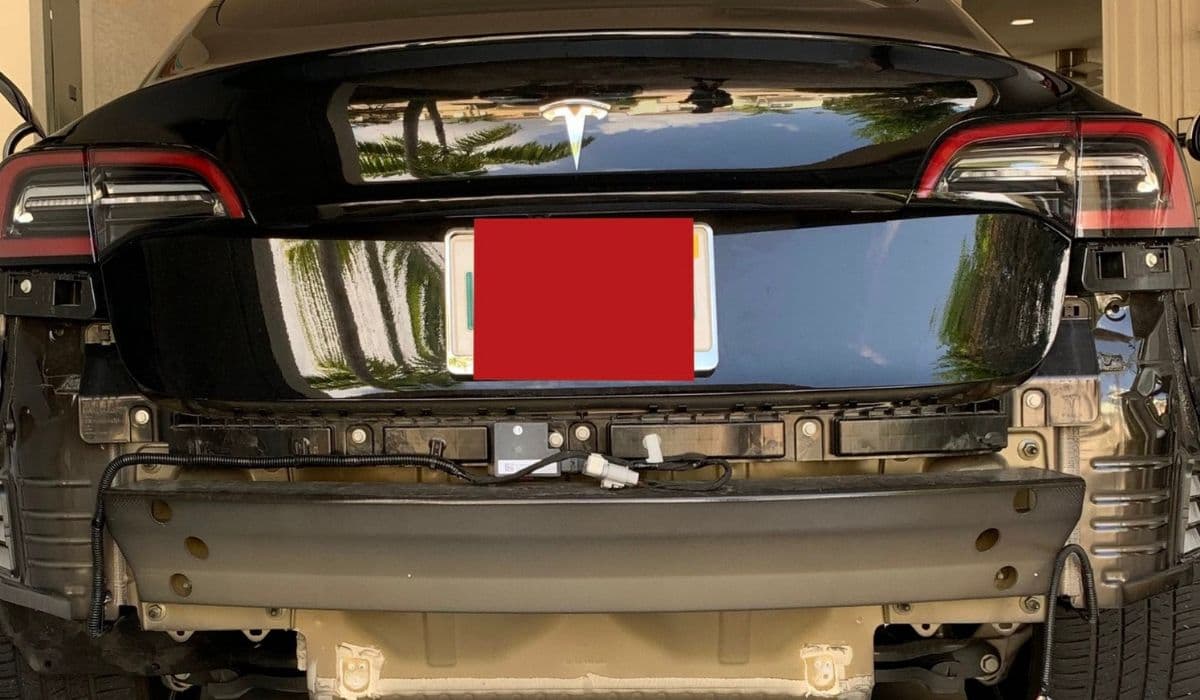
How to replace Tesla Model 3/Y rear bumper clips (easy DIY)
16.12.2025 05:46
How to fix phantom drain overnight Tesla
16.12.2025 04:50
How to replace octopus coolant leak (Tesla Model 3 2017–2020)
16.12.2025 03:21
How to replace torn rear seat bolsters Tesla
16.12.2025 03:09