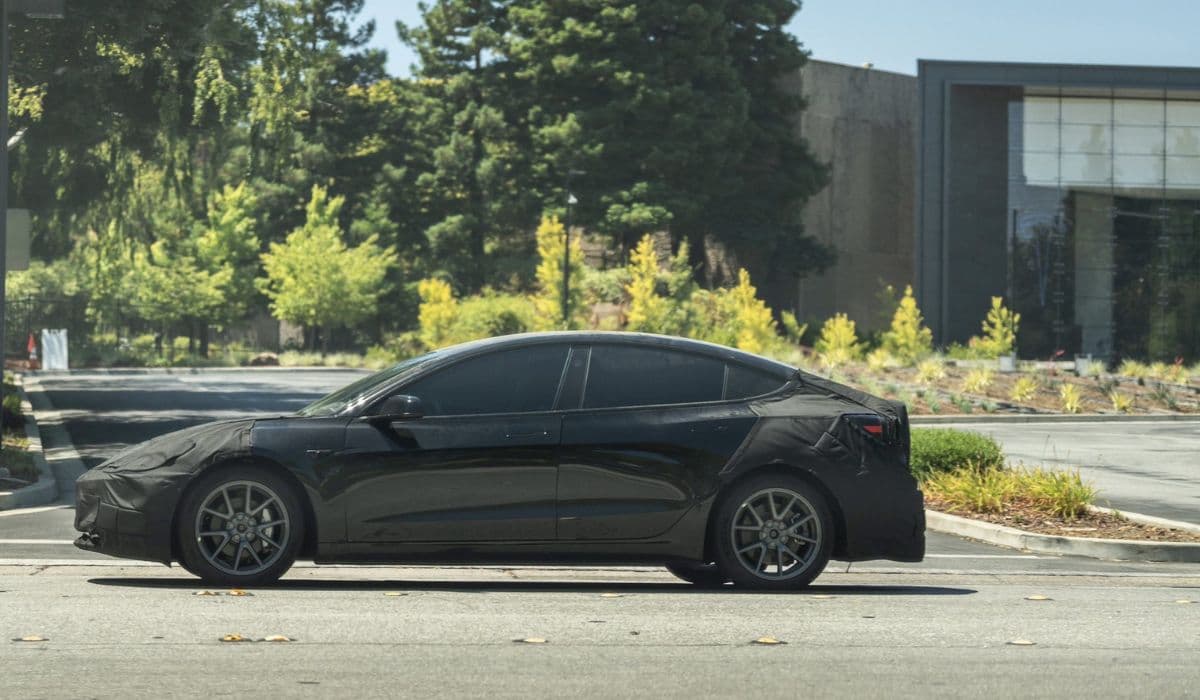
How to replace front bumper camera fogging (Highland Tesla Model 3)
The Highland Tesla Model 3 introduced several refinements, but some owners encounter fogging in the front camera system, which impacts visibility for advanced driver assistance features. While the primary forward-facing cameras are located behind the windshield, persistent fogging or condensation can sometimes relate to environmental factors affecting the vehicle's front end, including any integrated bumper components.
Understanding the root causes and effective remedies helps maintain optimal performance without unnecessary complications.
Understanding the Fogging Issue in Highland Model 3 Cameras
Fogging typically occurs due to temperature fluctuations and humidity changes. In the Highland refresh, the camera setup relies heavily on vision-based systems, making clear lens visibility crucial.
Common triggers include:
Rapid shifts from cold exterior to warm interior conditions
High humidity levels trapping moisture in enclosed areas
Off-gassing from interior materials depositing films on glass surfaces
Changes in defroster element designs that may leave small uncovered zones
This can manifest as hazy footage in the dashcam or sentry mode recordings, or temporary disabling of features like Autopilot. The issue is more noticeable in colder climates or during seasonal transitions, where moisture condenses faster than it evaporates.
Owners often notice patterned fog spots that align with the windshield heater lines, indicating areas where heat distribution is uneven.
Preventive Measures to Reduce Camera Fogging
Prevention starts with habits that minimize moisture buildup and promote quick clearing.
Effective strategies include:
Preconditioning the cabin before driving, especially in cool or damp weather, to gradually equalize temperatures
Activating the windshield defroster early and directing airflow toward the upper windshield and side pillars
Keeping the climate system in auto mode with recirculation off to allow fresh air circulation
Parking in covered areas to avoid direct exposure to dew or frost overnight
Regularly monitoring camera previews in the vehicle's service menu for early signs of haze
These steps leverage the built-in heaters and HVAC system to evaporate condensation naturally, often resolving minor fogging within minutes of driving.
Diagnosing Persistent Fogging Problems
If fogging recurs frequently despite preventive efforts, a deeper inspection is warranted.
Key diagnostic steps:
Use a bright flashlight from outside to check for internal haze or residue on the windshield directly in front of the cameras
Review saved footage for consistent blurry patterns versus temporary environmental effects
Note if the issue persists after extended defroster use or cabin preconditioning
Check for any alerts in the vehicle's driver assist system indicating blocked visibility
In some cases, a thin film from plastic off-gassing accumulates over time, creating a semi-permanent haze that standard wiping can't reach. Distinguishing between temporary condensation and buildup is essential for choosing the right fix.
Step-by-Step Cleaning for Internal Windshield Haze
For haze on the inside of the windshield affecting camera view, a precise cleaning process can restore clarity without disassembly.
Preparation involves gathering soft microfiber cloths and a non-ammoniated glass cleaner.
The process:
Lower the driver-side window for access
Gently remove the camera cover clips using plastic trim tools to avoid scratches
Fold a microfiber cloth to reach into the narrow cavity behind the cover
Apply cleaner sparingly to the cloth, then wipe the glass area in front of the lenses, focusing on edges and corners
Use a dry cloth for final polishing, checking progress via the on-screen camera preview
Reattach the cover securely, ensuring all clips engage properly
This method targets trapped residue effectively, often eliminating haze that defrosters alone can't address. Repeat if necessary, as multiple passes may be needed for stubborn films.
When to Consider Professional Intervention or Component Replacement
If cleaning doesn't resolve the issue, or if fogging appears inside sealed camera housings, hardware factors may be at play.
Potential advanced causes:
Degraded seals allowing excess moisture entry
Faulty heater elements in the windshield
Rare defects in camera module gaskets
In such scenarios, scheduling mobile service allows technicians to inspect seals, recalibrate systems, or replace affected parts like the camera assembly or glare shield. The process involves diagnostic tools to enter calibration mode and verify functionality post-repair.
For front bumper-related visibility concerns in low-speed maneuvers, note that the Highland design prioritizes aerodynamic efficiency, but vision enhancements continue to evolve across the lineup.
Long-Term Maintenance Tips for Clear Camera Performance
Maintaining pristine camera views extends beyond immediate fixes.
Ongoing practices:
Clean exterior lenses regularly with a soft cloth to prevent dirt amplification of internal issues
Avoid strong chemical cleaners inside the cabin that could accelerate off-gassing
Update software promptly, as optimizations often improve heater control and fog detection
Use cabin overheat protection sparingly in direct sun to reduce material vapor release
By combining vigilant habits with targeted interventions, Highland Model 3 owners can minimize fogging disruptions and enjoy reliable performance from the advanced vision system year-round.
More from Tesla

How to fix HVAC blend door actuator clicking noise Tesla
16.12.2025 13:16
How to fix FSD visualization lag after Tesla 2025.14 update
16.12.2025 07:02
How to fix phantom drain overnight Tesla
16.12.2025 04:50
How to replace octopus coolant leak (Tesla Model 3 2017–2020)
16.12.2025 03:21
How to replace torn rear seat bolsters Tesla
16.12.2025 03:09