How to replace HV battery coolant valve Tesla
Tesla vehicles rely on a sophisticated thermal management system to keep the high-voltage (HV) battery at optimal temperatures. The HV battery coolant valve plays a critical role in directing coolant flow through various loops, ensuring efficient heating in cold conditions or cooling during high-demand driving. Over time, this valve can develop issues like sticking, leaking, or calibration errors, leading to warnings on the touchscreen, reduced performance, or inefficient battery operation.
Understanding the valve's function helps appreciate why replacement might be necessary. It typically manages multiple ports, switching between series and parallel flows or bypassing certain components like the radiator or chiller. Common symptoms include persistent fan noise, low coolant alerts, or specific error codes related to valve calibration. Addressing these promptly prevents potential battery degradation.
Understanding the HV Battery Coolant System
The coolant system in Tesla models circulates a specialized fluid through the battery pack, powertrain components, and heat exchangers. The valve acts as a smart gateway, controlled electronically to optimize energy use.
Key elements include:
Pumps that circulate the coolant
Sensors monitoring temperature and flow
Manifolds distributing fluid to battery modules
Integration with the cabin heating and AC systems
The valve often features multiple ways (3-way, 4-way, or 5-way depending on the model), allowing dynamic routing. For instance, in colder weather, it might loop coolant through a heater for rapid warmup, while in heat, it directs flow to the radiator or chiller.
This setup maximizes range by recovering waste heat from motors or inverters when beneficial.
Signs That the Coolant Valve Needs Replacement
Owners often notice subtle hints before major issues arise. Watch for these indicators:
Touchscreen alerts about coolant levels or thermal performance
Unusual fan operation, running louder or longer than expected
Reduced driving range, especially in extreme temperatures
Error codes visible in service mode, such as those related to valve actuation or calibration
Visible coolant residue under the vehicle or in the frunk area
Leaks around the valve housing are a frequent culprit, stemming from seal wear or internal corrosion. Sticking actuators can prevent proper positioning, causing inefficient cooling loops.
Ignoring these can lead to overheating risks, though Tesla's battery management system provides safeguards like power limiting.
Tools and Materials Needed
Preparation ensures a smooth process. Gather these essentials:
Basic hand tools: sockets, torque wrench, pliers
Hose clamp tools for secure fluid control
Drain pan and absorbent materials
Genuine Tesla replacement valve (match your model's part number)
Approved coolant for refilling
Protective gear: gloves, eye protection
Access to service mode on the touchscreen
Having a vacuum refill tool helps with bleeding air post-installation.
Safety Precautions Before Starting
High-voltage components demand respect. Always prioritize safety:
Park on a level surface and engage parking brake
Enter Service Mode via the touchscreen to disable certain systems
Disconnect low-voltage power if required for access
Wear insulated gloves when near HV areas
Avoid spilling coolant, as it's conductive and toxic
Work in a well-ventilated area and have a fire extinguisher nearby.
Step-by-Step Removal Process
Begin by draining the system to minimize mess.
Access the frunk or underbody panels as needed
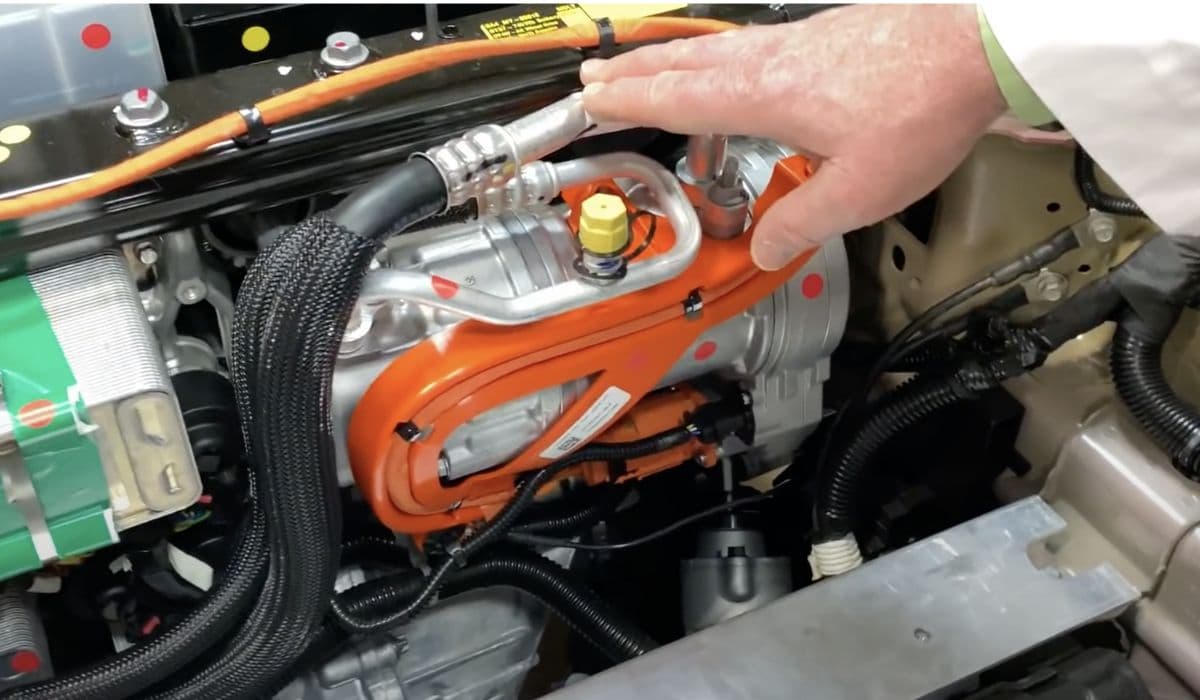
Locate the valve, often near the coolant reservoir or manifold
Disconnect the electrical harness carefully, noting connector orientation
Clamp hoses to control flow
Removal steps typically involve:
Releasing quick-connect fittings on hoses
Unbolting the valve from its bracket
Gently maneuvering it out, catching any residual fluid
Clean surrounding areas thoroughly to prevent contamination during reinstall.
Installing the New Coolant Valve
A new valve restores precise control.
Position the replacement, aligning ports accurately
Secure with bolts, torquing to specifications
Reattach hoses, ensuring clips fully engage
Connect the electrical harness, verifying locks
Double-check alignments to avoid kinks or stress on lines.
Refilling and Bleeding the Coolant System
Proper refilling eliminates air pockets.
Use the touchscreen to initiate fill/drain routines in Thermal settings
Add coolant gradually, monitoring levels
Run purge cycles to circulate fluid and expel air
Top off as the system settles
Multiple cycles may be needed for complete bleeding.
Testing and Verification
After reassembly:
Clear any pending alerts in service mode
Run valve self-tests if available
Monitor temperatures during a short drive
Check for leaks and stable coolant levels
Successful replacement often resolves efficiency issues noticeably.
Common Mistakes to Avoid
Rushing leads to problems.
Skipping clamps, causing excessive spills
Misorienting the valve, blocking flows
Incomplete bleeding, trapping air and reducing effectiveness
Using incompatible coolant, risking system damage
Patience pays off in reliable performance.
Benefits of Proper Maintenance
A functioning coolant valve enhances battery longevity and vehicle efficiency. It ensures optimal thermal conditions, preserving capacity over time and maximizing range in varied climates.
Regular checks contribute to the overall reliability Tesla owners enjoy.
More from Tesla

How to fix FSD visualization lag after Tesla 2025.14 update
16.12.2025 07:02
How to replace Tesla Model 3/Y rear bumper clips (easy DIY)
16.12.2025 05:46
How to fix phantom drain overnight Tesla
16.12.2025 04:50
How to replace octopus coolant leak (Tesla Model 3 2017–2020)
16.12.2025 03:21
How to replace torn rear seat bolsters Tesla
16.12.2025 03:09