How to replace mobile connector for overheating Tesla
Tesla owners often rely on the Mobile Connector for convenient home charging, but overheating issues can disrupt this process, leading to reduced charging speeds or complete halts. This problem typically stems from built-in safety features that detect excessive heat in the adapter, cable, or connections. Addressing it promptly ensures reliable charging and prevents potential long-term damage. Understanding the root causes and knowing when replacement is necessary can save time and maintain optimal performance for your electric vehicle.
Understanding Overheating in Tesla Mobile Connectors
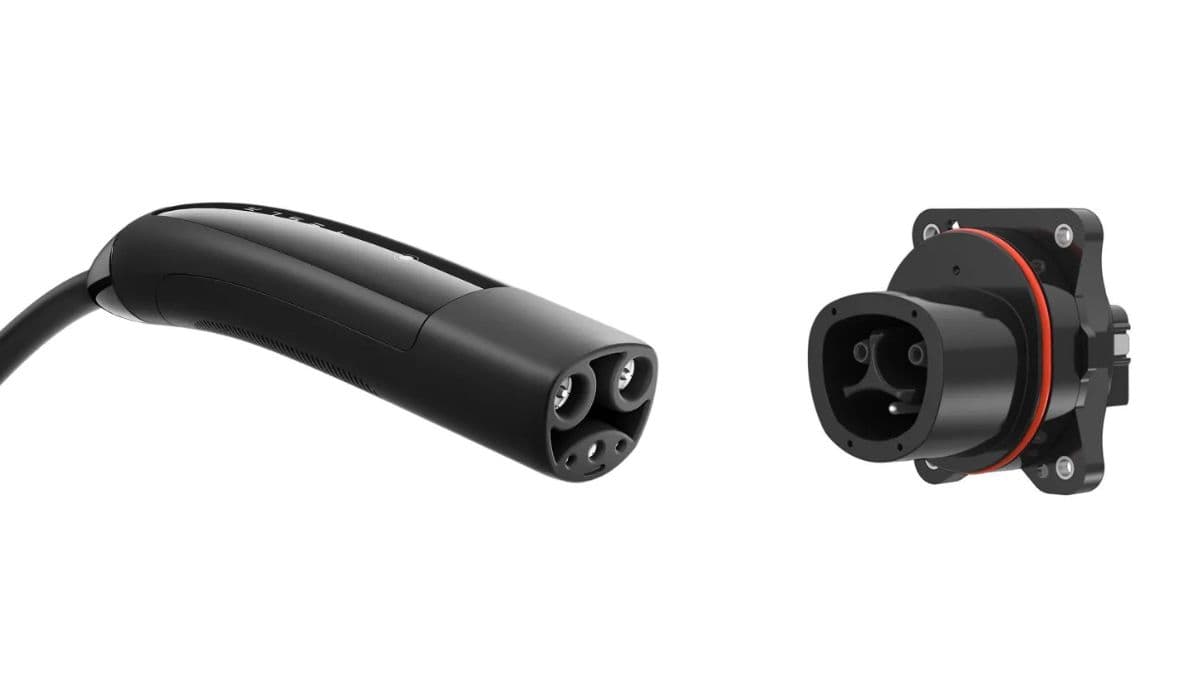
The Tesla Mobile Connector, especially the Gen 2 version, includes sophisticated temperature sensors designed to monitor heat buildup during charging sessions. These sensors are strategically placed in the adapter plug and the main unit to protect against fire hazards and equipment failure.
Overheating triggers automatic safety responses, such as derating the charging current from full capacity (often 32 amps) down to lower levels like 16 amps, or stopping charging altogether. This is a deliberate feature to safeguard the system when temperatures exceed safe thresholds, typically around 122°F in ambient conditions or higher at contact points.
Common indicators include flashing lights on the connector unit—such as red blinks—or alerts in the Tesla app and vehicle display notifying of reduced charge rates due to high wall plug temperature.
Common Causes of Mobile Connector Overheating
Several factors contribute to overheating, ranging from environmental conditions to installation quality. Identifying these helps in troubleshooting before opting for replacement.
High ambient temperatures in garages or outdoor setups, where summer heat can push the connector beyond its operating limits.
Loose or poor connections at the wall outlet, leading to increased electrical resistance and heat generation.
Worn or low-quality wall receptacles that cannot handle continuous high-amperage draw effectively.
Improper seating of the adapter into the Mobile Connector body, causing intermittent contact and localized heating.
Accumulated wear on the adapter plug from frequent use, especially with certain outlet types that grip less securely over time.
Extended charging at maximum amperage in less-than-ideal setups, amplifying heat in vulnerable points.
These issues are more prevalent with plug-in adapters like NEMA 14-50 or similar, as the connection points bear the brunt of current flow.
Initial Troubleshooting Steps to Avoid Replacement
Before concluding that replacement is needed, try these practical steps to resolve overheating without new hardware.
Firmly reseat the adapter: Remove it completely from the Mobile Connector and push it back in with significant force until it clicks securely and shows no wiggle.
Inspect and clean connections: Check the plug prongs and outlet slots for dirt, corrosion, or damage; gentle cleaning can restore proper contact.
Test in cooler conditions: Charge during early morning or evening hours when temperatures are lower to see if the issue persists.
Reduce charging amperage temporarily via the vehicle's touchscreen to lower heat buildup while diagnosing.
Verify outlet integrity: Ensure the wall receptacle is tightly wired and shows no signs of discoloration or melting.
Many owners find that simple reseating or minor adjustments eliminate the problem, restoring full charging capability.
When and Why to Replace the Mobile Connector
If troubleshooting fails and overheating recurs, replacement becomes the most reliable solution. Persistent issues often indicate internal sensor degradation, damaged components in the adapter, or overall wear that compromises safety features.
Tesla designs the Mobile Connector with user-replaceable parts in some cases, but full unit swaps are common for warranty or service resolutions. A new connector ensures fresh temperature monitoring and eliminates risks from compromised insulation or contacts.
Replacement is particularly advisable if:
Visual damage like melting or scorching appears on the plug or cable.
Error codes consistently point to high temperatures despite optimal conditions.
The unit frequently derates even at moderate amperage settings.
Opting for a genuine replacement maintains compatibility and safety standards tailored to Tesla vehicles.
Step-by-Step Guide to Replacing the Mobile Connector
Replacing the Mobile Connector is straightforward and can often be done without professional assistance, though consulting Tesla support is recommended for diagnostics.
Schedule through the Tesla app: Report the overheating issue to initiate a service request; remote diagnostics may confirm the need for replacement.
Receive the new unit: Tesla typically ships replacements directly, covering eligible cases under warranty.
Unbox and compare: Ensure the new connector matches your vehicle's requirements, including any bundled adapters.
Transfer adapters if applicable: Swap over undamaged adapters from the old unit to the new one for continued versatility.
Test the installation: Plug into your existing outlet, connect to the vehicle, and monitor for normal operation without heat-related alerts.
Dispose of the old unit responsibly: Follow Tesla's guidelines for returning faulty hardware.
This process restores seamless charging, often with improved reliability from updated designs.
Preventing Future Overheating Issues
Proactive measures extend the life of your new Mobile Connector and minimize recurrence.
Use high-quality industrial-grade outlets designed for continuous loads, which dissipate heat better.
Mount the connector horizontally when possible to prevent gravity from loosening adapters.
Support the cable weight to reduce strain on connections.
Charge at reduced amps during extreme heat waves.
Regularly inspect for wear and keep the unit stored in moderate temperatures when not in use.
Considering a hardwired Wall Connector as an alternative can bypass plug-related heat problems entirely for primary home use.
Mastering these aspects of Mobile Connector maintenance empowers Tesla owners to handle overheating confidently, ensuring consistent and safe charging experiences.
More from Tesla

How to fix HVAC blend door actuator clicking noise Tesla
16.12.2025 13:16
How to fix FSD visualization lag after Tesla 2025.14 update
16.12.2025 07:02
How to fix phantom drain overnight Tesla
16.12.2025 04:50
How to replace octopus coolant leak (Tesla Model 3 2017–2020)
16.12.2025 03:21
How to replace torn rear seat bolsters Tesla
16.12.2025 03:09