How to replace window regulator Tesla (stuck windows)
Tesla vehicles are renowned for their innovative design and smooth operation, but like any car, they can experience mechanical issues over time. One common problem owners face is a stuck power window, often caused by a failing window regulator. The regulator is the mechanism that moves the glass up and down, typically integrated with the motor in modern Teslas. When it malfunctions, you might hear grinding noises, slow movement, or complete immobility, leaving the window jammed in an awkward position.
This issue is particularly frustrating in varying weather conditions, as a stuck window can compromise comfort and security. Fortunately, replacing the window regulator is a manageable DIY task for those with basic mechanical skills. It requires patience and the right approach to avoid damaging delicate door components. This guide focuses primarily on popular models like the Model 3 and Model Y, where the process is similar, though slight variations exist across the lineup.
Understanding the Window Regulator in Tesla Vehicles
The window regulator in Tesla cars is a cable-driven system in many models, differing from traditional scissor-style mechanisms in older vehicles. It uses cables, pulleys, and a motor to control the glass movement precisely. Over time, cables can fray, pulleys wear out, or the motor strain from repeated use, leading to failure.
Symptoms of a bad regulator include:
Unusual noises like grinding or clicking when operating the window
Window moving slowly or jerking
Glass dropping suddenly into the door
Complete failure to respond to switches
In Teslas, frameless doors add complexity, as the window must drop slightly when opening the door to clear the seal. A faulty regulator disrupts this, potentially causing the window to bind against the roof trim.
Diagnosing the problem starts with listening for motor sounds—if you hear the motor but no movement, the regulator is likely at fault. If there's no sound, check electrical connections first.
Tools and Preparation for Replacement
Before diving in, gather the necessary tools to make the process smoother and safer. Working on Tesla doors involves plastic clips and vapor barriers, so care is essential to prevent rattles or water leaks later.
Essential tools include:
Plastic trim removal tools to avoid scratching panels
Torx bits (T20, T30 commonly needed)
Socket set with extensions
Flashlight for visibility inside the door
Masking tape to secure glass temporarily
Gloves to protect hands from sharp edges
Park in a well-lit, dry area. Disconnect the low-voltage battery if possible for safety, though many DIYers skip this for window jobs. Order a genuine replacement regulator assembly beforehand, as aftermarket options may not integrate perfectly with Tesla's calibration system.
If the window is stuck up, great—no immediate risk. If down, tape it securely to prevent it from falling further during work.
Removing the Door Panel Safely
Start by carefully prying off the door trim panel. Tesla panels use clips that can break if forced.
Steps for panel removal:
Begin at the bottom edge, gently inserting a trim tool to release clips
Work around the perimeter, avoiding the top near the window
Disconnect armrest switches and speaker wires as you lift
Peel back the vapor barrier gently—it's adhesive and protects electronics from moisture
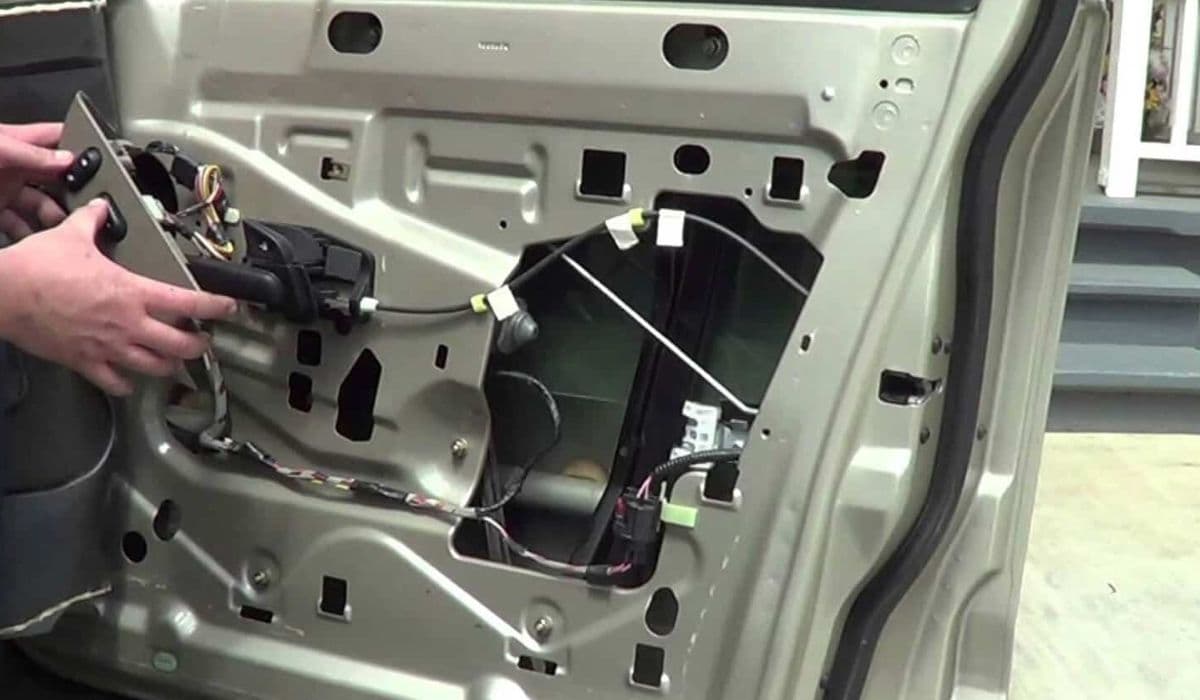
Once the panel is off, you'll see the regulator assembly mounted inside. Inspect for obvious damage like broken cables or detached clamps.
For stuck windows, you may need to manually adjust the glass position by hand to access bolts. In some cases, reaching through access holes allows partial movement even without power.
Detaching the Glass and Regulator
With the panel removed, secure the window glass with tape along the top to hold it in place.
Key steps:
Remove plugs covering access holes to the glass clamps
Loosen or remove bolts securing the glass to the regulator clamps (often two per side)
Carefully lift the glass out or slide it up if space allows—rear doors may require more maneuvering
Disconnect the motor electrical harness
Now, unbolt the regulator from the door frame. There are typically several nuts or screws holding it. Note their positions for reassembly. Gently maneuver the entire assembly out through the largest opening in the door.
Handle the old unit carefully to avoid spring tension if cables are intact. Compare it to the new one to ensure compatibility.
Installing the New Window Regulator
Installation is largely the reverse of removal, but attention to alignment is crucial.
Tips for smooth installation:
Position the new regulator and secure it loosely at first
Reattach the glass clamps, ensuring they're not bottomed out
Tighten all fasteners to proper torque—overtightening can strip threads
Reconnect electrical harnesses snugly
Route cables without pinching them, as kinks can cause premature failure. Reapply the vapor barrier sealant if disturbed.
Reinstall the door panel by aligning clips and pressing firmly. Test connections before fully seating.
Recalibrating the Window for Proper Operation
After replacement, the window needs recalibration to learn its full travel limits and enable features like auto-up and pinch protection.
Enter Service Mode on the touchscreen:
Navigate to Controls > Service
Go to Closures > Windows
Select the affected window and start calibration
The window will cycle up and down several times. Stay clear during this process. Exit Service Mode once complete.
Test thoroughly: open and close multiple times, check one-touch functionality, and ensure it drops slightly when opening the door.
Proper calibration prevents issues like the window not sealing fully or reversing unexpectedly.
Common Pitfalls and Troubleshooting Tips
DIY replacements can encounter hurdles, but foresight helps.
Frequent challenges:
Broken clips during panel removal—have spares ready
Misaligned glass causing binding
Forgotten plugs leading to water ingress
Calibration failing if battery voltage is low
If the new regulator doesn't work, double-check connections and ensure the door latch is engaged, as some systems require it.
Prevent future failures by avoiding slamming doors and keeping tracks clean. Regular use keeps mechanisms lubricated naturally.
This repair restores seamless operation, enhancing the premium feel Tesla owners expect. With care, it can be completed in a few hours, saving time and maintaining your vehicle's integrity.
More from Tesla

How to fix HVAC blend door actuator clicking noise Tesla
16.12.2025 13:16
How to fix FSD visualization lag after Tesla 2025.14 update
16.12.2025 07:02
How to fix phantom drain overnight Tesla
16.12.2025 04:50
How to replace octopus coolant leak (Tesla Model 3 2017–2020)
16.12.2025 03:21
How to replace torn rear seat bolsters Tesla
16.12.2025 03:09