Tesla: How to clean heat pump for better cold weather efficiency
Tesla vehicles equipped with heat pumps represent a significant advancement in electric vehicle thermal management. Unlike traditional resistive heaters that generate heat by consuming substantial battery energy, heat pumps efficiently transfer heat from the outside air, waste heat from the motors, or even the battery itself into the cabin. This innovative system, featuring components like the octovalve and super manifold, allows for multiple operating modes to optimize performance across various conditions.
In cold weather, the heat pump shines by reducing energy consumption for cabin heating, preserving range when it's needed most. However, its efficiency hinges on unrestricted airflow through the front heat exchangers — essentially the radiator and condenser coils located behind the front grille. Over time, these coils can accumulate road debris, insects, leaves, pollen, and even small stones, restricting airflow and forcing the system to work harder.
Understanding Tesla's Heat Pump System
Tesla's heat pump is a sophisticated reverse air-conditioning setup that moves heat rather than creating it from scratch. In heating mode, it extracts warmth from the ambient air or internal components and pumps it into the cabin. The octovalve intelligently directs coolant flows, enabling the system to scavenge waste heat from the drive units and battery for superior efficiency.
This design excels in moderate cold but can face challenges in extreme freezes if airflow is impeded. Blocked coils reduce heat exchange capability, leading to higher energy use, slower cabin warm-up, and potential range loss. Keeping the heat exchangers clean ensures the pump operates at peak coefficient of performance (COP), where it can deliver multiple units of heat for every unit of electricity consumed.
Regular maintenance of these components is key to maintaining the system's edge over older resistive heating setups, especially during winter drives.
Signs Your Tesla Heat Pump Needs Cleaning
Owners in colder climates often notice subtle indicators that the front heat exchangers require attention. These signs can appear gradually as debris builds up:
Slower cabin heating times, even after preconditioning
Increased energy consumption displayed on the vehicle's efficiency metrics during cold drives
Fans running at higher speeds more frequently to compensate for restricted airflow
Occasional alerts or reduced performance in extreme low temperatures
Visible buildup when inspecting behind the front grille
Addressing these early prevents compounded issues, like ice formation on dirty coils during snowy conditions, which further hampers efficiency.
Preparing for Safe Cleaning
Before starting any maintenance, prioritize safety and vehicle protection. Park on a level surface, engage parking mode, and ensure the vehicle is powered off.
Gather these basic tools and materials:
Soft-bristle brush or compressed air blower
Garden hose with gentle spray nozzle (avoid high-pressure washers that could bend fins)
Vacuum with narrow attachment
Flashlight for inspection
Gloves and eye protection
Many owners perform exterior cleaning without specialized equipment, but for thorough access, consult community guides or professional help if unsure. Always avoid harsh chemicals that could damage coatings on the coils.
Step-by-Step Exterior Coil Cleaning Process
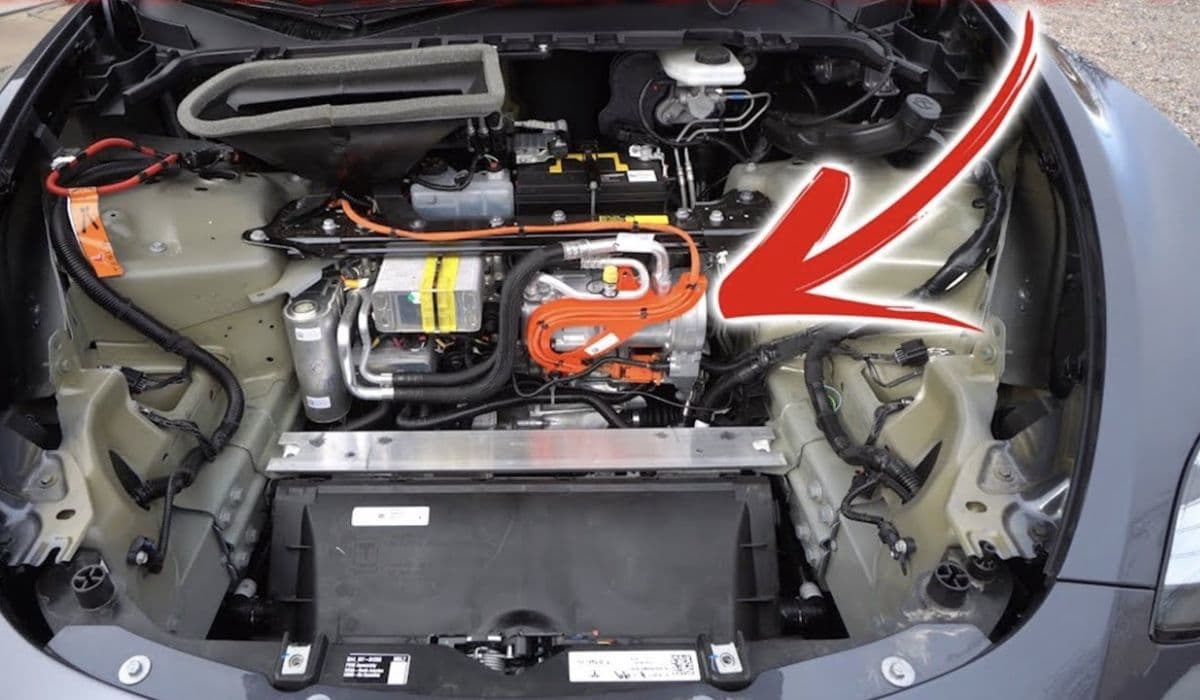
The primary area for cleaning is the front-mounted heat exchanger assembly, accessible behind the active grille shutters.
Start with a visual inspection:
Open the frunk and peer down toward the front
Look for accumulated debris on the coil surfaces
For basic cleaning:
Use compressed air or a soft brush to dislodge loose dirt from the front
Gently vacuum visible particles
Rinse carefully with low-pressure water from the front, allowing debris to flush outward
More involved cleaning may require removing access panels or the underhood apron for better reach. In these cases:
Carefully separate components if comfortable, following detailed owner-shared methods
Blow out trapped stones or bugs from the back side
Rinse thoroughly and allow full drying before reassembly
This process restores optimal airflow, directly boosting heat pump effectiveness in cold conditions.
Preventing Future Buildup
Proactive measures keep your heat pump performing optimally year-round.
Consider these habits:
Install aftermarket mesh screens over intake vents to block larger debris
Regularly clear snow, ice, or leaves from the front grille during winter
Park in covered areas when possible to minimize pollen and dust exposure
Schedule periodic inspections, especially after highway drives or seasonal changes
These steps minimize accumulation, ensuring consistent cold-weather efficiency.
Additional Tips for Cold Weather Optimization
Beyond cleaning, maximize your heat pump's potential with smart usage:
Precondition the cabin while plugged in to use grid power instead of battery
Use seat and steering wheel heaters for targeted warmth, reducing cabin air demand
Drive moderately to allow waste heat recovery
Monitor software updates, as they often refine thermal management algorithms
Combining clean coils with these practices unlocks the full benefits of Tesla's advanced system, delivering warmer cabins with minimal range impact even in challenging winters.
More from Tesla

How to fix HVAC blend door actuator clicking noise Tesla
16.12.2025 13:16
How to fix FSD visualization lag after Tesla 2025.14 update
16.12.2025 07:02
How to fix phantom drain overnight Tesla
16.12.2025 04:50
How to replace octopus coolant leak (Tesla Model 3 2017–2020)
16.12.2025 03:21
How to replace torn rear seat bolsters Tesla
16.12.2025 03:09