Tesla: How to fix charge port door jamming
Tesla vehicles feature a sleek, motorized charge port door that enhances the aerodynamic design and provides seamless access to the charging inlet. However, over time, owners may encounter issues where the door jams, sticks, or fails to open and close smoothly. This can stem from environmental factors, minor mechanical wear, or buildup of debris. Understanding the root causes and applying targeted fixes can restore reliable operation without unnecessary hassle.
Understanding Common Causes of Charge Port Door Jamming
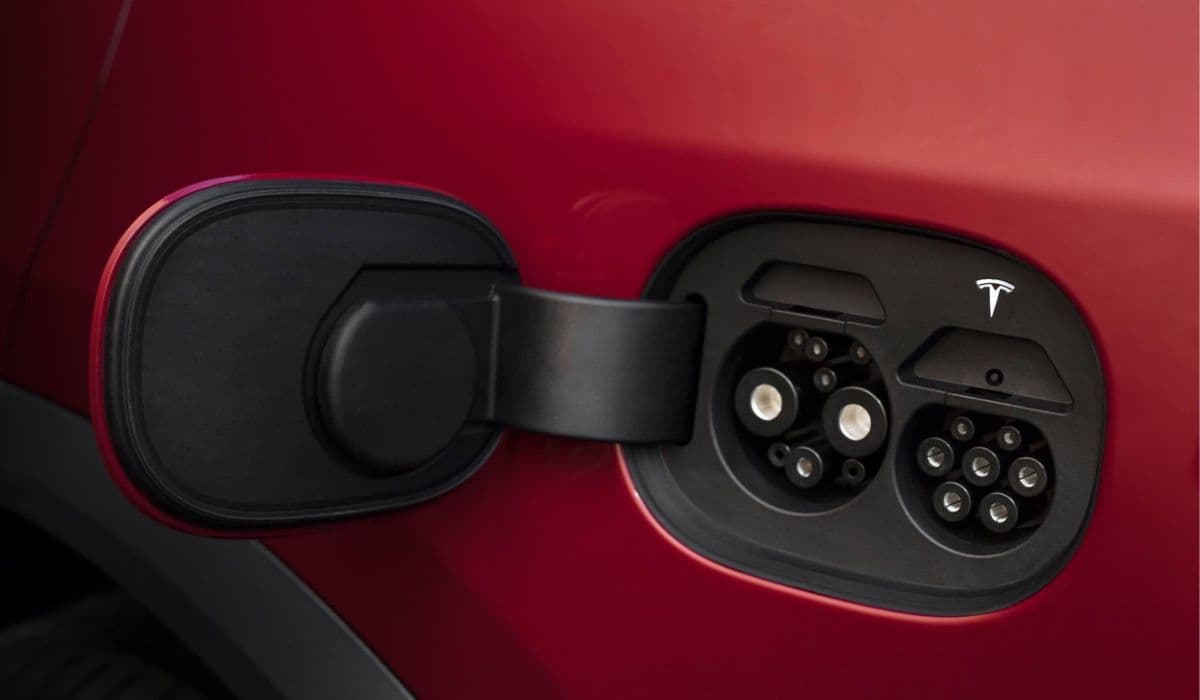
The charge port door in models like the Model 3, Model Y, Model S, and Model X relies on a combination of sensors, actuators, and magnets for automated function. Jamming often occurs due to everyday exposure.
Dirt, dust, or road grime accumulating around the seal and hinge area, creating friction.
Moisture ingress leading to temporary sticking, especially after car washes or rainy conditions.
Extreme temperatures causing material expansion or contraction, making the door bind against the body.
Wear on internal components, such as the actuator clutch or sensor targets, particularly in higher-mileage vehicles.
Misalignment from repeated use or minor impacts, affecting the door's smooth pivot.
Identifying the specific trigger—whether it's audible clicking without movement or the door partially opening then snapping shut—helps narrow down effective solutions.
Quick Troubleshooting Steps to Resolve Minor Jams
Many jamming issues are temporary and can be addressed with simple, non-invasive methods before escalating to more involved fixes.
Ensure the vehicle is fully unlocked and try opening the door via multiple methods: the touchscreen Controls menu, mobile app, or charger handle button.
Perform a soft reboot by holding both scroll wheels on the steering wheel until the screen resets, which can clear software glitches affecting the actuator.
Gently press the right side of the door (hinge side) while commanding it to open, providing slight assistance to overcome initial resistance.
For immediate needs, manually nudge the door open or closed after triggering the command, as the mechanism is designed to tolerate occasional manual intervention.
These steps often restore normal function, especially if the problem is intermittent or software-related.
Addressing Weather-Related Sticking and Freezing
Environmental conditions are a frequent culprit behind charge port door jams, particularly in regions with variable climates.
In cold weather, ice formation around the latch or seal can prevent movement; activate the rear defrost to engage the charge port heater (if equipped) for gradual thawing.
Apply gentle warmth using a hairdryer on low setting or a warm cloth held against the door area to melt any hidden ice without forcing components.
For heat-induced expansion making the door tight, a brief cooling with a damp cloth can contract materials enough to free it.
Clean the surrounding area with a soft microfiber cloth and mild soap to remove salt or residue that exacerbates sticking.
Regularly wiping the port after exposure to rain or snow minimizes these occurrences.
Cleaning and Maintenance for Long-Term Prevention
Proactive care keeps the charge port door operating flawlessly and prevents jamming from escalating.
Inspect and clean the rubber seal and magnet pad periodically using isopropyl alcohol on a cloth to dissolve grime without damaging surfaces.
Apply a thin layer of silicone-based lubricant to the seal and hinge points to reduce friction and repel water.
Avoid abrasive cleaners or high-pressure washes directly on the port, as they can drive debris deeper into mechanisms.
Check for loose debris inside the port and remove it carefully with compressed air or a soft brush.
Incorporating this into routine vehicle maintenance extends the lifespan of the charge port assembly.
When to Consider Manual Assistance or Emergency Overrides
In stubborn cases where the door refuses to budge electronically, safe manual techniques can provide temporary access.
Locate the manual release cable in the trunk (behind the side trim near the charge port) and gently pull it to disengage the lock pin if the charger is stuck.
Use a plastic trim tool or fingernail to carefully pry the door open from the edge while activating the open command.
For doors that close prematurely, hold them open briefly during plugging to allow the system to register properly.
Always proceed cautiously to avoid damaging paint or components; these are interim measures until the underlying issue is resolved.
Advanced Fixes for Persistent Mechanical Issues
If jamming persists despite basic interventions, it may indicate wear on specific parts.
Examine the interior of the door for a dislodged metal piece or magnet; if found, secure it with flexible adhesive for a reliable press-to-open function.
Reboot the vehicle fully by powering it off via the touchscreen Safety menu, waiting several minutes, then restarting.
In cases of actuator failure, where the door no longer motorizes, manual operation remains viable while scheduling professional inspection.
Many owners report improved reliability after addressing these hardware quirks through targeted repairs.
Mastering these techniques empowers Tesla owners to handle charge port door jamming confidently, ensuring uninterrupted access to charging. With attentive care, this innovative feature continues to deliver convenience and efficiency on every drive.
More from Tesla

How to fix HVAC blend door actuator clicking noise Tesla
16.12.2025 13:16
How to fix FSD visualization lag after Tesla 2025.14 update
16.12.2025 07:02
How to fix phantom drain overnight Tesla
16.12.2025 04:50
How to replace octopus coolant leak (Tesla Model 3 2017–2020)
16.12.2025 03:21
How to replace torn rear seat bolsters Tesla
16.12.2025 03:09