Tesla: How to fix trunk/frunk actuator failure
Tesla vehicles are renowned for their innovative design, including the front trunk (frunk) and powered rear trunk that rely on electric actuators for seamless operation. These actuators control the latches that secure and release the trunks, providing convenience with just a tap on the screen, key fob, or app. However, like any mechanical component, they can occasionally fail, leaving owners frustrated when the frunk or trunk refuses to open or close properly. Understanding the causes, symptoms, and fixes can help you regain access quickly and decide on the best course of action.
Understanding Frunk and Trunk Actuators in Tesla Models
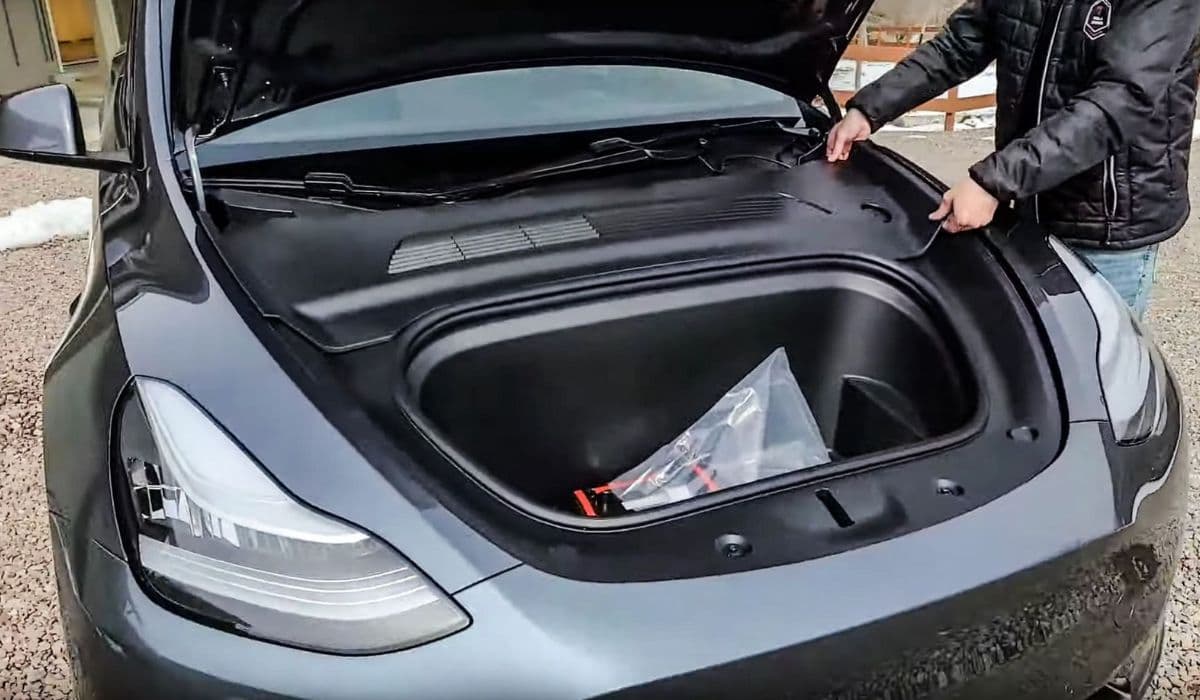
In models like the Model 3, Model Y, Model S, and Model X, the frunk typically uses a dual-actuator system: a primary actuator that pops the hood slightly and a secondary one that fully releases it for lifting. The rear trunk, especially in powered versions, often includes a cinching actuator that pulls the lid down securely after it lowers.
These actuators are small electric motors connected to cables that move the latch mechanisms. They activate electronically via the vehicle's controls, eliminating traditional manual cables in most cases. This design enhances security and aerodynamics but means failures can lock you out until resolved.
Common in various Tesla models, actuator issues often stem from wear over time, exposure to moisture, or minor misalignments. While not everyday occurrences, they appear frequently enough in owner forums to warrant awareness.
Common Symptoms of Actuator Failure
Recognizing the signs early can prevent being stranded with an inaccessible trunk.
The frunk or trunk does not pop open when commanded, even though you hear a clicking or whirring sound from the actuator attempting to engage.
The hood pops slightly (primary release works) but remains caught on the secondary latch, preventing full opening.
The rear trunk lowers but fails to cinch fully, causing the car to beep and display an "open" warning, or it reopens automatically.
No response at all—no sound, no movement—when trying to open via app, screen, or fob.
Intermittent operation, where it works sometimes but fails under certain conditions, like after washing the car or in extreme temperatures.
These symptoms often point directly to a faulty actuator rather than a software glitch or low battery.
Causes Behind Actuator Failures
Several factors contribute to these issues, making them a known quirk among Tesla enthusiasts.
Mechanical wear: Constant use cycles the motor and cables, leading to internal breakage or cable slippage.
Moisture ingress: Water from rain or car washes can corrode connections or seize the mechanism.
Misalignment: Minor bumps or improper closing can shift the latch, increasing strain on the actuator.
Electrical faults: Wiring issues or low 12V battery power can mimic actuator failure.
Design-specific vulnerabilities: Earlier models had higher reports of primary or secondary frunk actuator failures, while powered trunks in Model S and X often see cinching motor problems.
Fortunately, many owners resolve these without extensive downtime.
Diagnosing the Problem Yourself
Before diving into repairs, perform some basic checks to confirm it's an actuator issue.
Try multiple open commands while gently pushing down or lifting on the hood/trunk to relieve tension.
Reboot the vehicle by holding both scroll wheels on the steering wheel.
Check for software updates, as occasional glitches can affect controls.
Listen closely: A silent actuator suggests electrical failure, while noise without movement indicates mechanical binding.
If these don't help, manual access methods can get you into the trunk for further inspection.
Manual Ways to Open a Stuck Frunk or Trunk
In emergencies, you can bypass the failed actuator.
For the frunk:
Use an external 12V power source (like a portable jump starter) connected to the emergency wires behind the tow hook cover in the front bumper.
Alternatively, access the actuator cables by partially removing the wheel liner on the driver's or passenger's side and manually pulling the cable.
If the primary pops but secondary holds, carefully pry or use a tool to release the latch once there's a small gap.
For the rear trunk:
In some models, access the emergency release cable inside the trunk via the rear seats or a panel.
For powered liftgates, repeated commands or gentle force can sometimes free a stuck cinch.
These methods require caution to avoid damage.
Step-by-Step DIY Replacement for Frunk Actuators
Many owners tackle frunk actuator swaps themselves, as the process is straightforward with basic tools.
Gain access by opening the frunk (using manual methods if needed) and removing protective covers like the underhood apron or storage unit.
Locate the actuators near the central latch—one on each side.
Disconnect the electrical harness and release the cable from the latch arm.
Unclip the actuator from its mounting bracket.
Install the new actuator in reverse order, ensuring cables route properly and clips secure firmly.
Test operation multiple times.
This repair often restores full function quickly.
Fixing Rear Trunk Cinching Actuator Issues
Powered rear trunks have their own challenges.
Access the cinch actuator by removing interior trunk trim panels.
Disconnect the harness and release the cable.
Remove mounting bolts and slide out the old unit.
Replace and reassemble, then recalibrate height settings if needed.
Some owners lubricate mechanisms preventively to extend life.
Prevention Tips for Long-Term Reliability
Keep actuators healthy with simple habits.
Avoid slamming trunks; let powered systems do the work.
Regularly clean latch areas to prevent debris buildup.
Apply dielectric grease to connections in humid climates.
Monitor for early intermittent signs and address promptly.
These steps can minimize failures.
Tesla's electric trunks offer unmatched convenience, but actuator hiccups remind us of the blend between innovation and real-world durability. With the right knowledge, most issues resolve efficiently, keeping your vehicle performing at its best.
More from Tesla

How to fix HVAC blend door actuator clicking noise Tesla
16.12.2025 13:16
How to fix FSD visualization lag after Tesla 2025.14 update
16.12.2025 07:02
How to fix phantom drain overnight Tesla
16.12.2025 04:50
How to replace octopus coolant leak (Tesla Model 3 2017–2020)
16.12.2025 03:21
How to replace torn rear seat bolsters Tesla
16.12.2025 03:09