Tesla: How to fix ultrasonic sensor issues post-retrofit
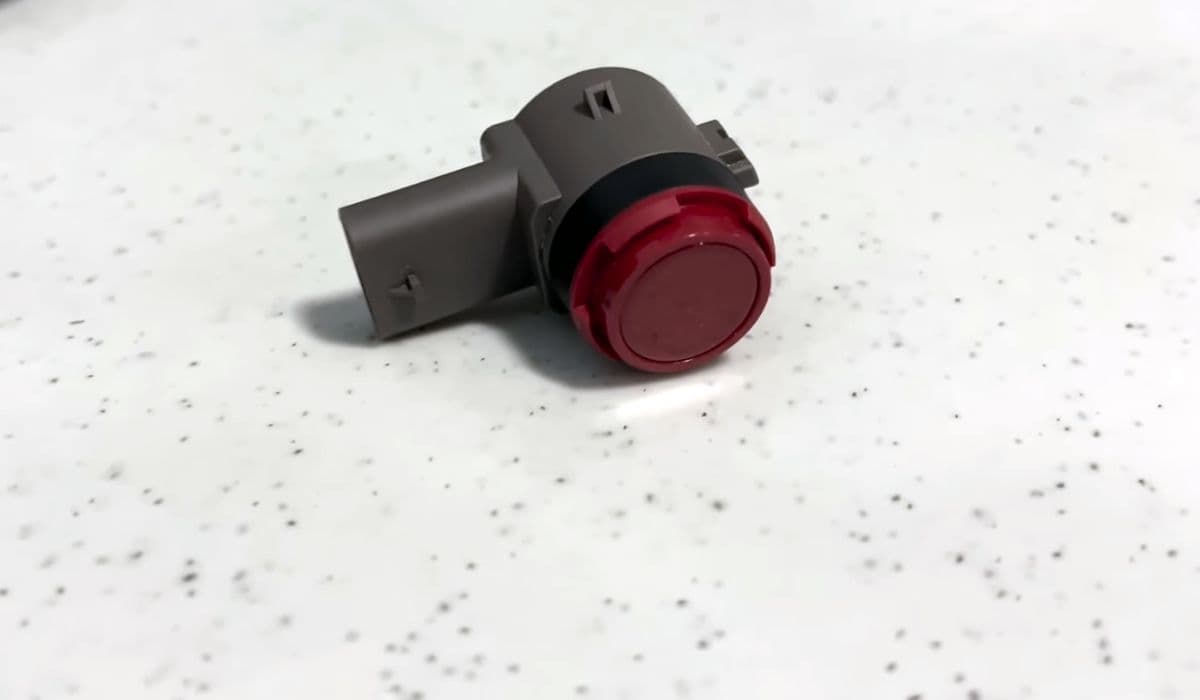
Tesla vehicles rely on advanced sensor suites for features like parking assist, Autopilot, and collision avoidance. Ultrasonic sensors (USS) play a key role in detecting close-range obstacles, providing precise distance measurements during low-speed maneuvers. However, some owners encounter problems after hardware retrofits, such as computer upgrades or bumper replacements, where sensor functionality becomes inconsistent or lost.
These issues often stem from configuration mismatches, wiring discrepancies, or software not recognizing the sensors properly. Understanding the root causes and troubleshooting steps can help restore full performance without unnecessary frustration.
Understanding Ultrasonic Sensor Problems After Retrofit
Retrofits in Tesla vehicles, particularly those involving the Autopilot hardware (like upgrading from HW3 to newer systems) or body repairs, can disrupt ultrasonic sensor operation. Common symptoms include:
No distance readings on the display during parking
Erratic or absent chimes when approaching obstacles
Park Assist unavailable messages
Inaccurate visualizations in the car's surround view
The transition to Tesla Vision — a camera-based system — has complicated matters for some models. While newer vehicles ship without physical ultrasonic sensors, relying purely on cameras for similar functions, older models with hardware-installed sensors sometimes face compatibility challenges post-upgrade.
In certain cases, retrofits alter the vehicle's configuration file, causing the system to ignore existing sensors. This leads to reliance on vision-only detection, which may feel less precise in tight spaces or adverse conditions.
Common Causes of Post-Retrofit Sensor Malfunctions
Several factors contribute to ultrasonic sensor issues following a retrofit:
Software Configuration Changes: During hardware upgrades, the vehicle's firmware may default to vision-only mode, bypassing physical sensors even if they are present and functional.
Wiring and Harness Variations: Replacement bumpers or harnesses from different production batches might lack full compatibility, resulting in disconnected or unrecognized sensors.
Calibration Drift: Physical work on bumpers can misalign sensors, affecting their ability to send and receive sound waves accurately.
Environmental Interference: Dirt, paint overspray from repairs, or ice buildup can mute sensor performance temporarily.
Owners report that these problems are more prevalent in vehicles that underwent Autopilot computer retrofits or accident repairs involving the front or rear fascias.
Diagnostic Steps to Identify the Issue
Before attempting fixes, accurately diagnose the problem to avoid unnecessary work.
Start with a visual inspection of the bumpers for visible sensor circles and check for damage or obstructions.
Use the vehicle's service mode (accessible via the touchscreen) to view sensor status and error codes.
Test in a controlled environment: Slowly approach known obstacles and observe if distances update reliably.
Monitor for software updates, as over-the-air patches often address sensor recognition bugs.
If the car displays vision-based approximations (like colored proximity lines) instead of exact measurements, it's likely operating in a hybrid or vision-dominant mode.
Software-Based Solutions and Updates
Many post-retrofit sensor issues resolve through software adjustments.
Force a Software Reinstall: Park the car in a strong Wi-Fi area and request a fresh update via the app or touchscreen. This can recalibrate sensor integration.
Toggle Park Assist Settings: Navigate to Controls > Autopilot and experiment with enabling/disabling related features to trigger recognition.
Service Mode Checks: Advanced users can enter service mode to view raw sensor data, confirming if hardware is detected but ignored.
Tesla frequently releases updates improving vision-sensor fusion, gradually restoring precision even in mixed configurations.
Hardware Troubleshooting and Minor Fixes
For persistent problems, hands-on checks can yield results.
Clean sensors thoroughly with a soft cloth and isopropyl alcohol to remove debris.
Inspect wiring connectors behind the bumpers for secure seating — gentle reseating often resolves intermittent faults.
Realign slightly mispositioned sensors by carefully pressing them flush with the bumper surface.
In repair scenarios:
Ensure replacement parts match the original spec, including sensor retainers and grommets.
Apply proper adhesion techniques if sensors were removed, using heat to activate factory adhesives for secure mounting.
These steps have helped many owners regain reliable chimes and distance readouts after body work.
Advanced Options for Full Restoration
If basic troubleshooting fails, consider these deeper approaches.
Schedule a mobile service visit for diagnostic scans and potential reconfiguration.
In some cases, swapping to matching harnesses from sensor-equipped donor parts restores communication.
Community forums share experiences with successful recalibrations post-upgrade, emphasizing patience for ongoing software refinements.
While full DIY retrofits to add missing sensors prove challenging due to configuration locks, focusing on optimizing existing hardware yields strong results.
Tesla's ecosystem continues evolving, blending physical sensors with powerful vision processing for increasingly capable assistance features. By methodically addressing post-retrofit glitches, owners can enjoy the precise, responsive parking aid these systems were designed to provide.
More from Tesla

How to fix HVAC blend door actuator clicking noise Tesla
16.12.2025 13:16
How to fix FSD visualization lag after Tesla 2025.14 update
16.12.2025 07:02
How to fix phantom drain overnight Tesla
16.12.2025 04:50
How to replace octopus coolant leak (Tesla Model 3 2017–2020)
16.12.2025 03:21
How to replace torn rear seat bolsters Tesla
16.12.2025 03:09