Tesla: How to replace brake calipers (corrosion in salted roads)
Tesla vehicles, with their heavy reliance on regenerative braking, experience far less wear on traditional friction brakes compared to conventional cars. This innovative system recaptures energy during deceleration, extending the life of brake pads and rotors dramatically. However, in regions where roads are treated with salt during winter months, a hidden challenge emerges: corrosion on brake calipers. Salt accelerates rust buildup on sliding pins, pistons, and abutment surfaces, leading to sticking calipers, uneven pad wear, noisy braking, or reduced performance. Ignoring this can compromise safety, making timely intervention essential for Tesla owners in harsh climates.
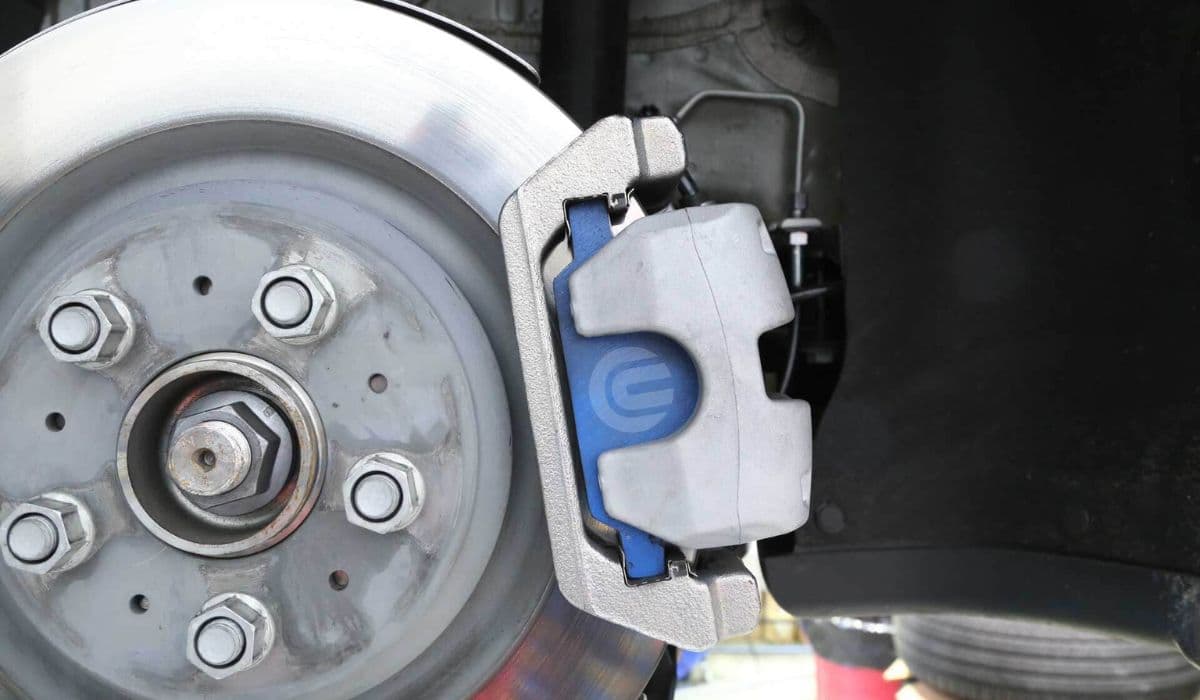
Understanding Corrosion in Tesla Brake Calipers
Road salt, combined with moisture, creates an aggressive environment for metal components. In Teslas, infrequent use of friction brakes means less heat to evaporate water and burn off contaminants, allowing salt deposits to linger. Over time, this causes:
Seized guide pins that prevent smooth caliper movement
Pitted piston surfaces affecting hydraulic pressure
Corroded abutments leading to pad drag and overheating
Potential for premature rotor warping or vibration during hard stops
Many Tesla owners in northern climates report these issues after several winters, even on low-mileage vehicles. Regular inspection is key—look for rust flakes, sticky pedal feel, or unusual noises when applying brakes manually.
Signs That Your Tesla Brake Calipers Need Attention
Early detection prevents minor corrosion from escalating to full replacement. Common indicators include:
Squealing or grinding sounds unrelated to pad wear
Vehicle pulling to one side during braking
Reduced regenerative braking efficiency (as friction brakes compensate)
Visible rust buildup around caliper edges or slide pins
Brake warning lights or messages on the dashboard
If cleaning and lubrication fail to resolve these, replacement becomes necessary to restore optimal braking dynamics.
Preventive Maintenance to Combat Salt-Induced Corrosion
Tesla recommends annual cleaning and lubrication of brake calipers in salt-belt regions. This simple routine can delay or avoid replacement:
Rinse undercarriage frequently during winter to remove salt
Manually apply brakes periodically to generate heat and dry components
Use high-temperature brake lubricant on pins and contact points during tire rotations
Proactive care keeps calipers sliding freely, preserving the seamless one-pedal driving experience Tesla is known for.
Preparing for Brake Caliper Replacement
Replacing calipers on a Tesla like the Model 3 or Model Y is a manageable DIY task for those with mechanical experience, though professional assistance is advised for novices due to the hydraulic system and electronic parking brake integration. Always prioritize safety.
Essential preparations include:
Parking on a level surface and chocking wheels
Engaging Service Mode via the touchscreen to disable certain systems
Gathering tools: jack stands, torque wrench, brake fluid catcher, and compatible parts
Having fresh brake fluid on hand for bleeding
Work on one corner at a time to avoid mixing components.
Step-by-Step Guide to Replacing Front Brake Calipers
Front calipers on Teslas are floating designs, making access straightforward.
Safely raise and support the vehicle, removing the wheel
Hang the caliper securely to avoid straining the brake line
Disconnect any sensors if present and cap fluid lines to prevent spills
Remove mounting bolts (use new ones for reinstallation)
Carefully lift off the old caliper, inspecting the rotor and pads
Transfer or install new pads if needed, applying anti-seize where appropriate
Mount the new caliper, torquing bolts precisely
Reconnect lines and bleed the system thoroughly
Test pedal feel before driving.
Replacing Rear Brake Calipers on Tesla Models
Rear calipers incorporate the electronic parking brake (EPB), adding complexity.
Enter EPB Service Mode through the vehicle's menu to retract pistons
Disconnect the electrical harness carefully
Follow similar removal steps as the front, but manage the integrated motor
Use a scan tool if required for piston retraction on some models
Install the new unit, ensuring proper harness connection
Bleed brakes and exit Service Mode
Perform a parking brake calibration if prompted
This ensures the EPB functions seamlessly post-replacement.
Post-Replacement Procedures and Testing
After installing new calipers:
Bleed all affected corners to remove air bubbles
Pump the pedal to build pressure
Conduct a low-speed test in a safe area, checking for firm response
Monitor for leaks or warnings over the next few drives
Burnish new components gently for optimal performance
Proper bedding integrates the system, enhancing stopping power.
Long-Term Care for Tesla Brakes in Harsh Conditions
Beyond replacement, adopt habits to minimize future corrosion:
Wash the vehicle regularly, focusing on wheel wells
Apply protective coatings to exposed metal if feasible
Schedule seasonal inspections alongside tire changes
Drive modes that encourage friction brake use occasionally
These steps help maintain the exceptional longevity Tesla brakes are capable of, even in challenging environments.
More from Tesla

How to fix HVAC blend door actuator clicking noise Tesla
16.12.2025 13:16
How to fix FSD visualization lag after Tesla 2025.14 update
16.12.2025 07:02
How to fix phantom drain overnight Tesla
16.12.2025 04:50
How to replace octopus coolant leak (Tesla Model 3 2017–2020)
16.12.2025 03:21
How to replace torn rear seat bolsters Tesla
16.12.2025 03:09